|
|
One of the local high schools here in Houston has a high-altitude rocket team that is designing a 24+ ft. long hybrid rocket with the goal of reaching 100,000 ft. to be launched at White Sands Missile Range, this summer.The makerspace, TXRX Labs, where I work (and play) has partnered with them to help with fabrication of the air-frame. Being the only professional welder means I get to take lead (read: all the work) on this project.The first part to be built is the oxidizer tank. This is a roughly 10 ft. long tank made from 8" Sch. 40 6061 aluminum pipe with forged 6061 caps welded on. Since the oxidizer is liquid nitrous oxide the tank will have a working pressure of around 800 psi.If this were steel, the standard joint prep for joining the caps to the pipe would be a 60 degree V-groove with an open root. However, open roots and aluminum don't play nice, so a better joint design is to use a U-groove with not root opening.A U-groove prep would be very difficult to do by hand with a grinder and the pipe isn't quite round enough to be easily put on a lathe (even if we had a lathe that hold something nearly 10 ft. long). The great thing about 6061 aluminum is how easy it is to cut compared to steel. It can even be cut with wood working tools. The wall thickness of 8" Sch. 40 aluminum pipe is pretty close to 5/16". So a 1/4" radius cove bit with bearing in a wood router with a large enough base (added) can be run around the end of the pipe to produce half of a U-groove with a perfect 1/16" land.(Click on images for a larger version.)Here is the router I bolted some scrap wood onto to give it a large enough base to sit stably on the end of the pipe:
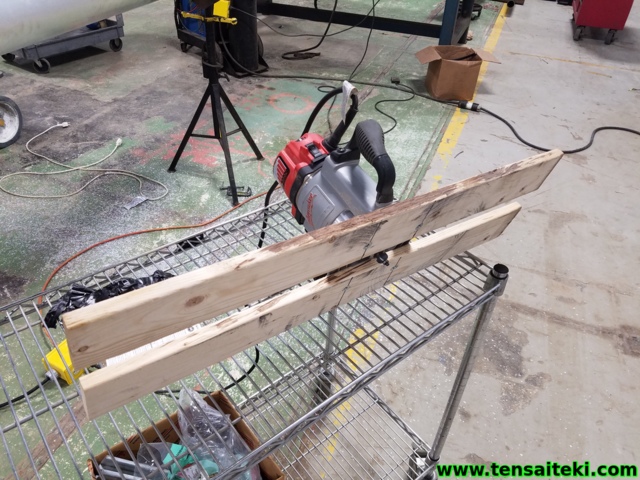
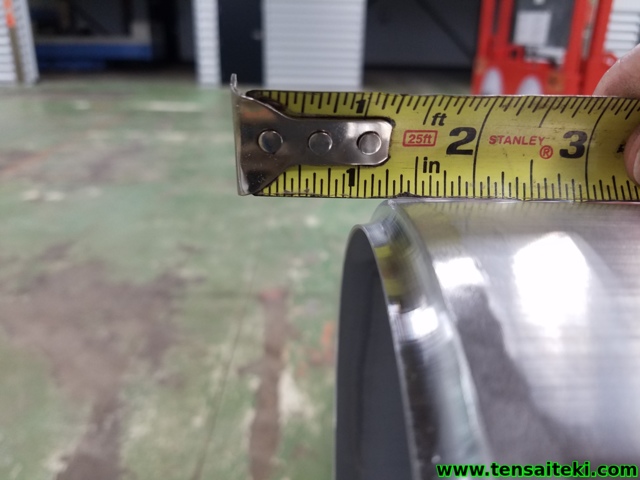
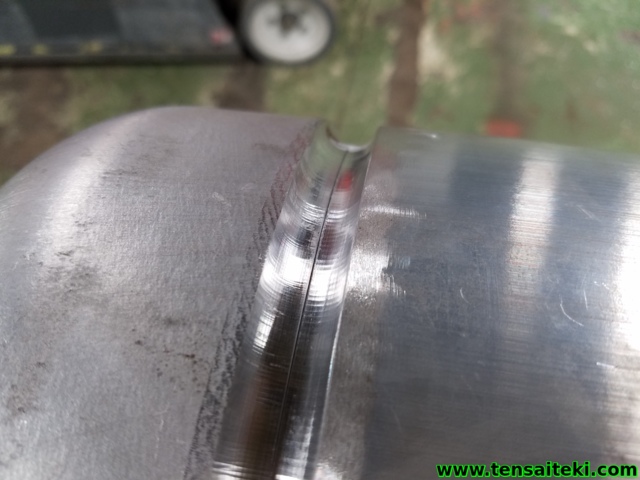
Here is one end of the pipe with its half of the U-groove prep:
I just clamped the router in a bench vice to make a sort of manual router table to put the same prep on the end caps.Here is one of the end caps tacked on, showing the tight fitup:
The trick with getting full penetration on aluminum is to watch the puddle very carefully and always keep it right on the edge of falling trough and blowing a hole.
I use a cheap USB borescope connected to my phone to get a view of the back of the weld to check for proper penetration/melt-through:
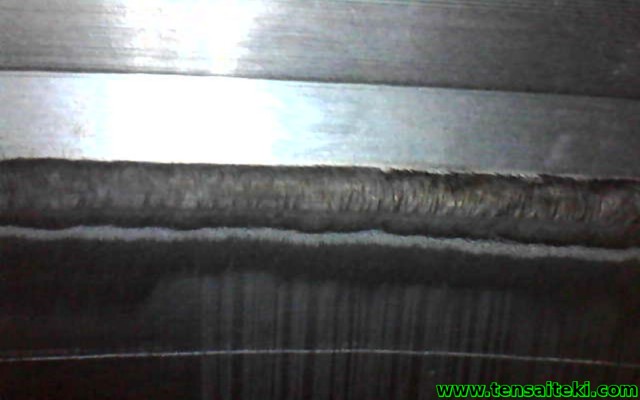
In that image you can see the machined inner surface of the end cap at the top, the weld melt-through in the middle, and the extruded striations of the pipe at the bottom.Here is one of the hot-passes; you can also see the 3/4" pipe fitting that is welded to the center of the cap at each end as well as the barely-good-enough weld positioner that makes this sort of thing much easier:
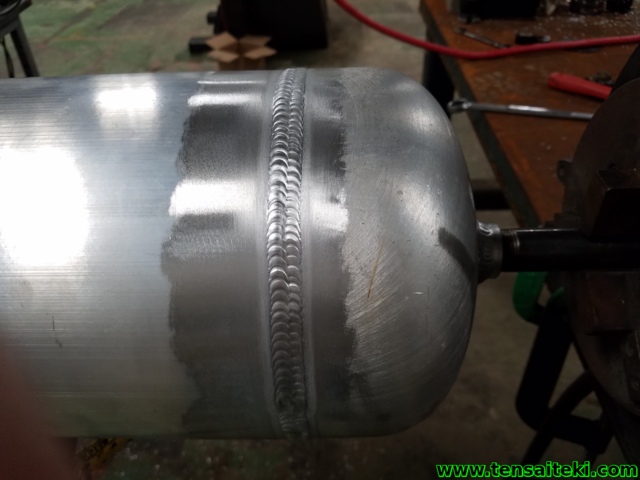
To minimize the size of the heat-affected-zone, the entire piece was allowed to cool to under 100 degrees F after each pass.One of the fill passes:
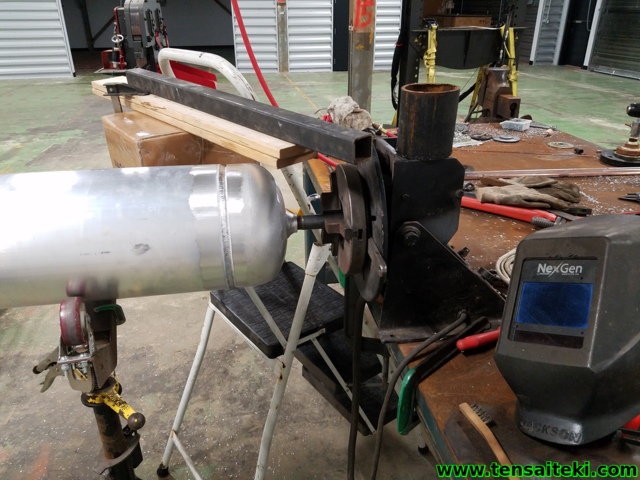
Here is a shot of the positioner set-up. The stool, box, scrap wood, and random tube steel act as a steady rest for my torch hand while the piece of pipe on top of the positioner is a good elbow rest:
Another fill pass followed by cooling:
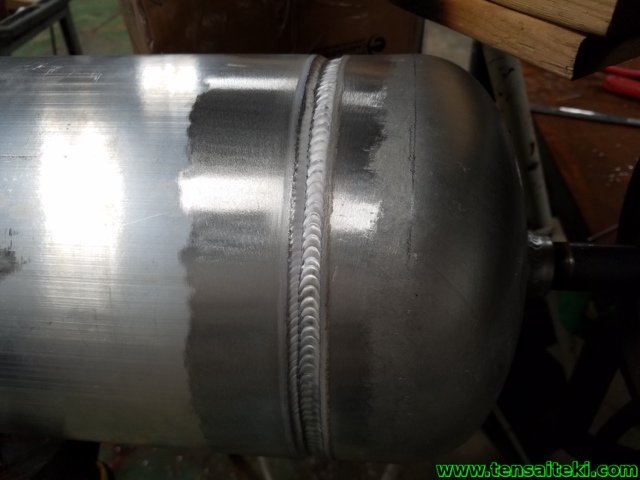
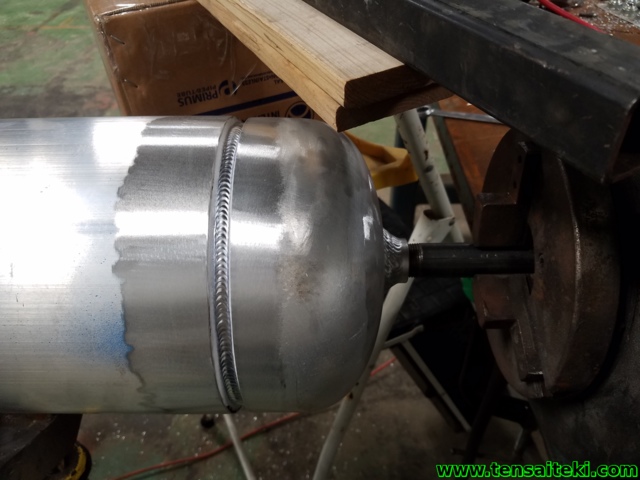
Here is the other end of the tank with the last fill pass before the cap passes:
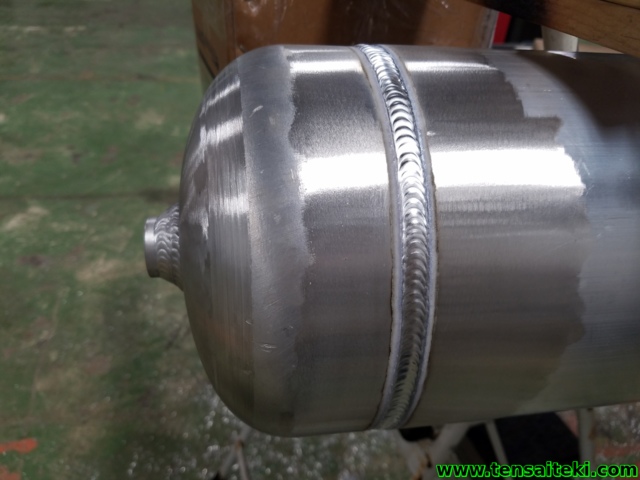
Image limit reached, continued in next post...
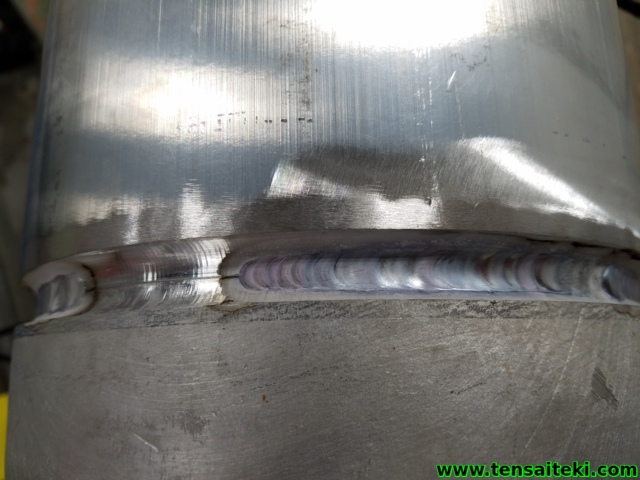
Reply:Continued from previous post...(Click on images for a larger version.)Two-bead cap as-welded. Even with 75% DCEN balance, 280 amps of AC TIG leaves a substantial etched area next to the weld:
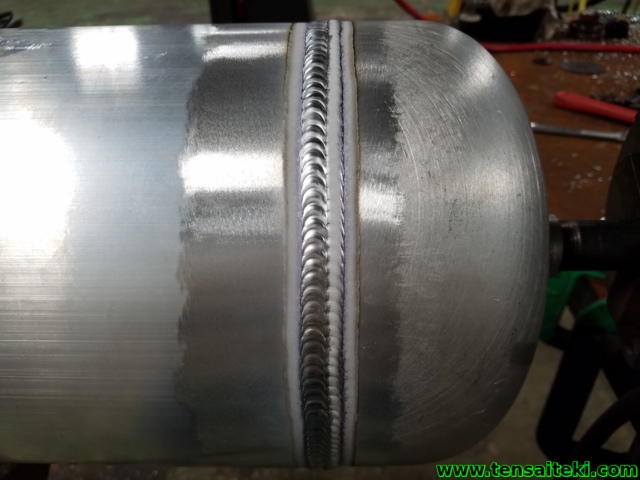
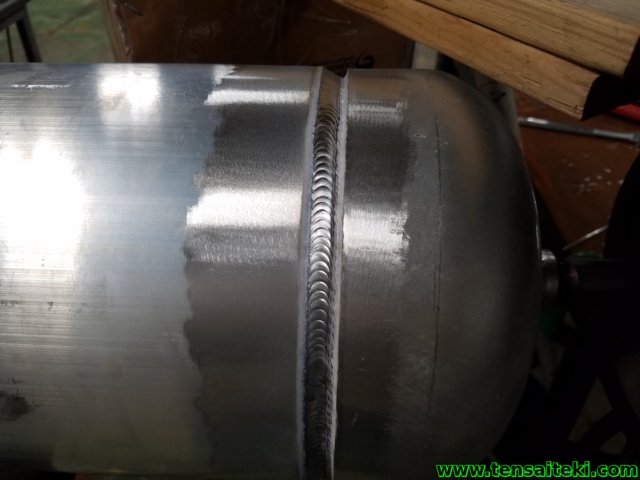
After a light stainless steel brushing:
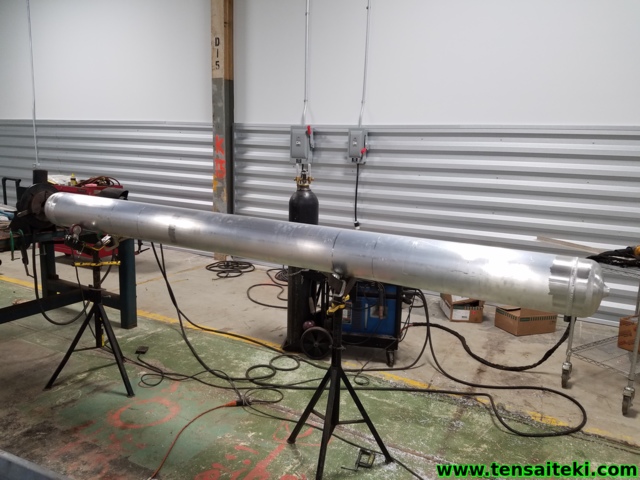
Overview shot of the whole tank:
Should to hold 800 psi, easy.Visit Tensaiteki.com
Reply:Thanks for sharing. Looking forward to the rest of the build!Tweco Fabricator 211iSieg X2 AMT radial arm drill pressAMT belt/disk sanderHF 4X6 bandsaw
Reply:Wow....very cool project!I'm guessing you'll do some sort of hydro test when the tank is done?Check out my bench vise website: http://mivise.comMiller Syncrowave 250DXMillermatic 350P with XR AlumaProMiller Regency 200 with 22A feeder and Spoolmatic 3Hobart Champion EliteEverlast PowerTig 210EXT
Reply:That's fantastic!It's not every day a fella gets asked to help build an honest-to-god rocket! Talk about bragging right!!

Reply:

Originally Posted by G-ManBart

Wow....very cool project!I'm guessing you'll do some sort of hydro test when the tank is done?
Reply:
Originally Posted by whtbaron
Why pressure test when you have a whole missile range to blow it up on?
Reply:Tensaiteki, i looked/read ur website some, and plan to look more, i never realized what level ur at. i like ur creativity for makeshift setups - w/ nice resultsLast edited by 123weld; 04-25-2021 at 05:28 PM.
Reply:The waste oil foundry has my attention.... if you can get enough heat out of it to melt metal, it should make a great forge with free fuel.250 amp Miller DialArc AC/DC StickF-225 amp Forney AC Stick230 amp Sears AC StickLincoln 180C MIGVictor Medalist 350 O/ACut 50 PlasmaLes |
|


 发表于 2021-9-1 23:17:59